Over the last couple of years, and several cupcake productions, I came up with a method for making rainbow-topped cupcakes that is easy, fun, and very colorful. (Did I mention they have rainbows? We’re big fans of rainbows in this house.)
What you’ll need:
- cupcakes (duh)
- frosting, preferably in a light color (I make the standard butter cream frosting based on the recipe on a package of powdered sugar)
- decorating sugar in a range of rainbow colors (also called sugar crystals or sugar sprinkles) I used bright pink, orange, yellow, light green, light blue and purple
- (optional) other candy decorations
- one or more small round dishes (soy sauce dishes are ideal, as they are the right size for cupcakes, and have a slight curvature)
What to do:
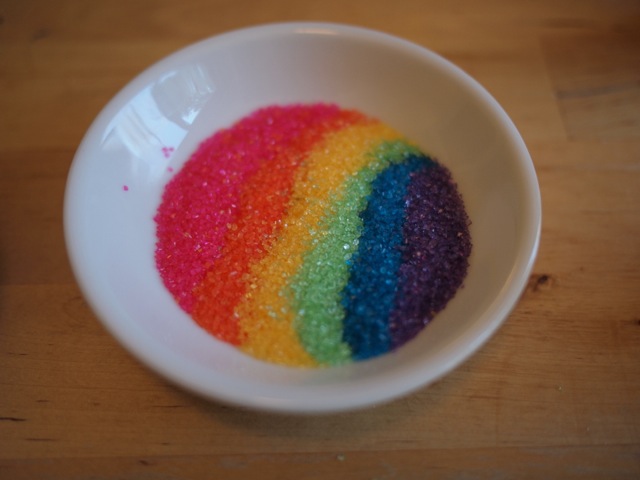
1. Pour out a small amount (about 1 teaspoon) of single color of sugar into the soy sauce dish.
2. With a finger, nudge the sugar over to one side of the dish, making a thick line. Don’t worry too much about shaping it.


3. Pour in your next color, and again nudge the sugar. The sugar will start to look like stripes.
4. Repeat with each of your next colors until either you have no more room, or until you have put in as many stripes as you like.
Repeat with multiple dishes if you want to make a production line.

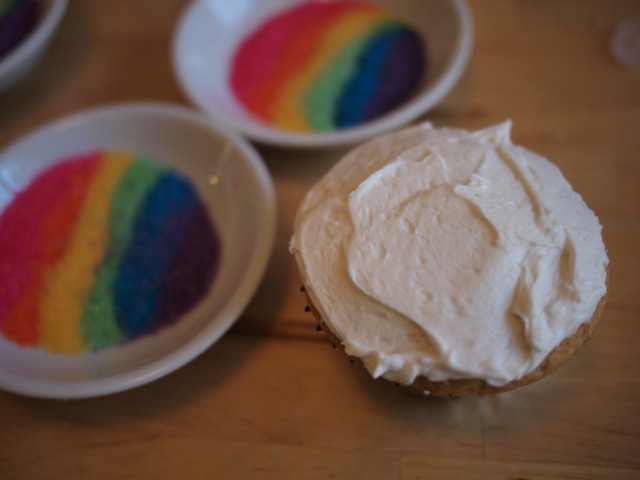
5. Frost a cupcake, or a few cupcakes.

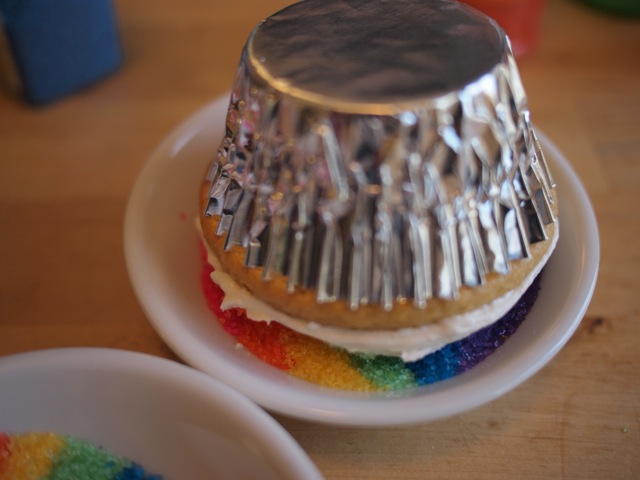
6. Invert the cupcake, and carefully lower onto the sugar stripes. Gently roll it around, pressing lightly, so that the whole top of the cupcake makes contact with the sugar.

7. Turn it back right-side up and admire the rainbow. (Here’s where I seem not to have taken a photo.)
If you want to add other candy sprinkles (like these stars), sprinkle a handful onto the top of the sugar stripes. (You’ll need to put the candy sprinkles again each time you dip a cupcake, but the rainbow stripes will last a few dips.)

This time I remembered to take a photo.
8. Frost another cupcake and dip it. With each dipping, the sugar stripes will shrink a bit. You can experiment with rolling the cupcake top around to make different patterns with the stripes. When the sugar gets low, push the stripes aside and start adding more stripes (like in steps 1 through 4.) Or, if you want to keep the stripes more even, you could dump out your sugar and start fresh in your dish. As for me, I enjoyed seeing the way the stripes shifted with each cupcake, and the patterns that emerged from adding additional stripes as the sugar in a dish ran low.

You can see here that the stripes vary, with the colors being more curvy in some parts, or more tightly spaced.
9. I also added white chocolate unicorns to the tops, after the sugaring. (I made these in advance with one of these unicorn candy molds. They were probably more trouble than they were worth, but I am a glutton for punishment. Unicorn-shaped sugary sweet punishment.) These needed a dab of frosting to stick to the cupcakes.
Notes:
- I don’t know how long it takes to do this project. It’s probably faster if you don’t stop to take pictures a gazillion times. I think it took a good hour, but it was fun.
- I could imagine doing this as a project with kids, especially if you are flexible about how the stripes will turn out. (And also if you anticipate needing to clean up a lot of spilt sugar.)
- You could also experiment with making other stripe-based patterns with the sugar, such as for holiday themes (eg. red, white and blue or whatnot) or just in some favorite colors
- While I’m not super thrilled about using all this artificial color, it does strike me that the sugar-sprinkle topping probably has less food coloring than you’d use to make saturated color frosting, or that you might use to make, e.g., rainbow cake batter. You might also try using natural dye colored sugars, such as those from India Tree.
Other Tips:
- Wait to frost the cupcakes until you have the sugar ready. You’ll need the frosting to be freshly spread to get the sugar to stick. (If you do frost the cupcakes earlier, or use pre-fosted ones, try giving the frosting a bid of spreading with a knife.)
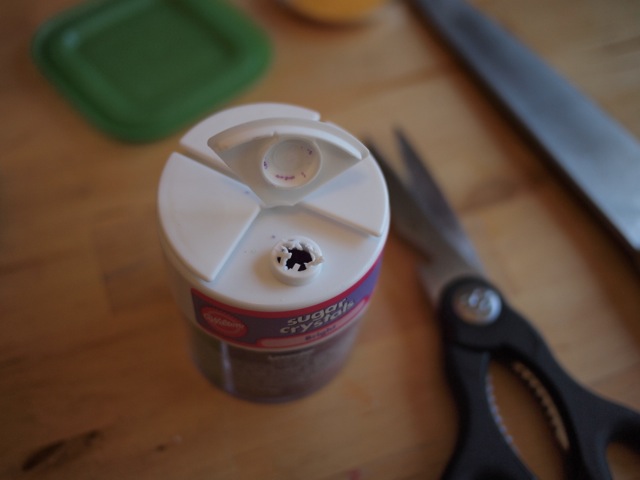
- If your sugar came in a container with a shaker top (with little holes), remove the shaker insert to pour. (Or, if you have the kind of container that has the shaker built in, you might want to make the holes bigger using a knife or kitchen scissors. Shaking it out will be tedious and you will feel like stabbing something anyhow. If you do not want to mess with the integrity of your shaker, or if the hole is still too small to really pour, shake your sugar into a separate bowl, and then pour into your soy sauce dish when you have a good amount. If you shake into the soy sauce dish directly, the sugar will fly everywhere, and the integrity of your stripes will be breached.)

I was lucky not to have injured myself in this step. They also make sugar that comes in separate jars, which is easier to pour.

These were some that I made a couple of years ago. At the time, I was attempting tie-dye cupcakes. They evolved into rainbows.


Those are so pretty! I like this a lot.
These are FANTASTIC. Kids in my classroom would love ’em.
Very clever. And so pretty. Thanks.
Wow!
Oh yuuuum! I haven’t had cake since going gluten-free, but this makes me want to have some IMMEDIATELY.
Genius!!!!! Thank you for taking all those pics and sharing! :D
I made tie-dyed cupcakes for my teenage daughter’s last birthday. They were a huge hit. Rainbow cupcakes can be my encore!
You’re brilliant. I made a rainbow cake with those sparkles and did the curved lines by hand, sprinkling. It came out all right, but it took forever!